Uyuni 2024.12 Server Deployment as a Virtual Machine - KVM
This chapter provides the required Virtual Machine settings for deployment of Uyuni 2024.12 as an image. KVM will be combined with Virtual Machine Manager (virt-manager) as a sandbox for this installation.
1. Available Images
|
The preferred method for deploying Uyuni 2024.12 Server is to use one of the following available images. All tools are included in these images greatly simplifying deployment. |
Images for Uyuni 2024.12 are available at Uyuni 2024.12 VM images.
|
For more information on preparing raw images, see: For additional information on the self install images, see: |
| Architecture | Image Format |
|---|---|
aarch64 |
qcow2, vmdk |
x86_64 |
qcow2, vmdk, raw, Self Installer |
ppc64le |
raw, Self Installer |
s390x * |
qcow2, raw |
* Two storage options are available for s390x: CDL DASD and FBA.
2. Virtual Machine Manager (virt-manager) Settings
Enter the following settings when creating a new virtual machine using virt-manager.
|
This table specifies the minimum requirements. These are suitable for a quick test installation, such as a server with one client. If you want to use a production environment and need background information about disk space, see Hardware Requirements. |
| KVM Settings | |
|---|---|
Installation Method |
Import Existing Disk Image |
OS: |
Linux |
Version: |
Uyuni-Server.x86_64-5.0.0-Build16.10.qcow2 |
Memory: |
16 GB |
CPU’s: |
4 |
Storage Format: |
.qcow2 100 GB (Default) Root Partition |
Name: |
test-setup |
Network |
Bridge br0 |
3. Initial KVM Setup
-
Create a new virtual machine using the downloaded Minimal KVM image and select
Import existing disk image. -
Configure RAM and number of CPUs (at least 16 GB RAM and 4 CPUs).
-
Name your KVM machine.
-
Click Begin Installation to boot from the image.
-
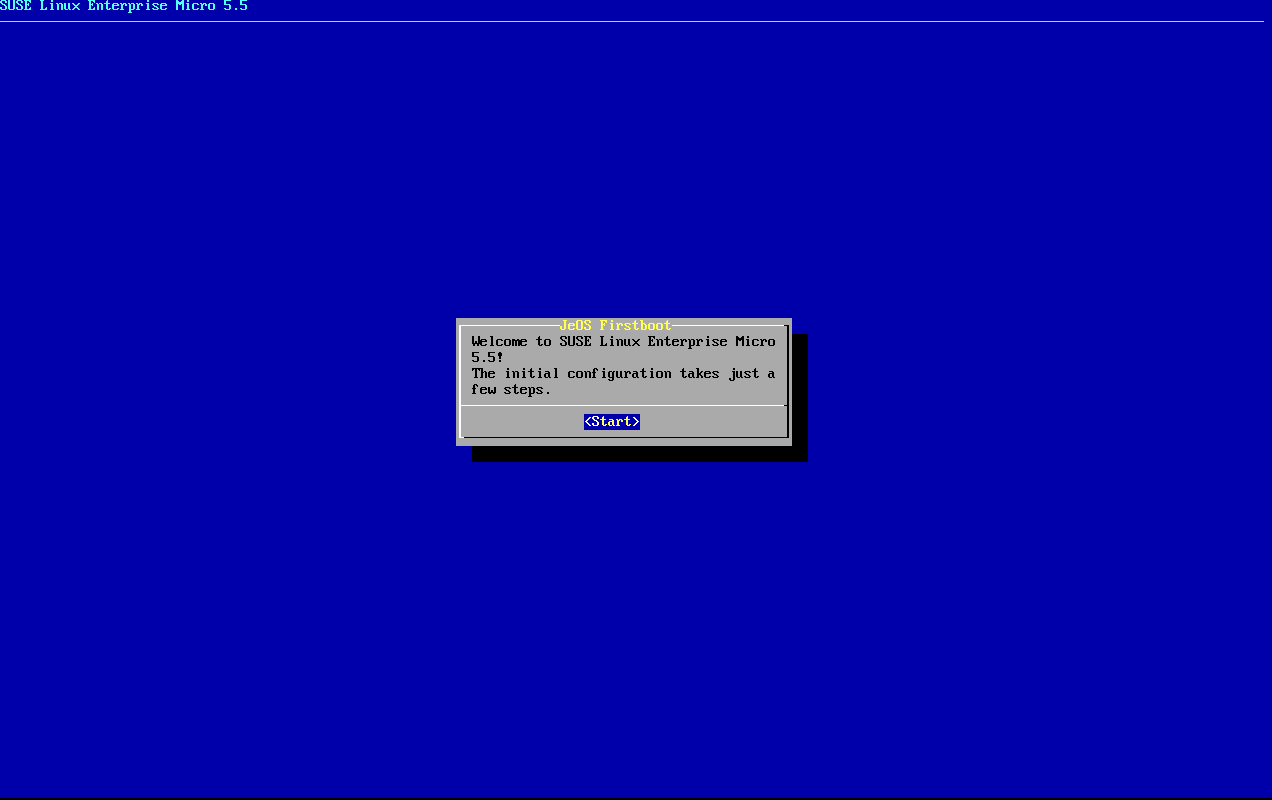
At the JeOS Firstboot screen select start to continue.
-
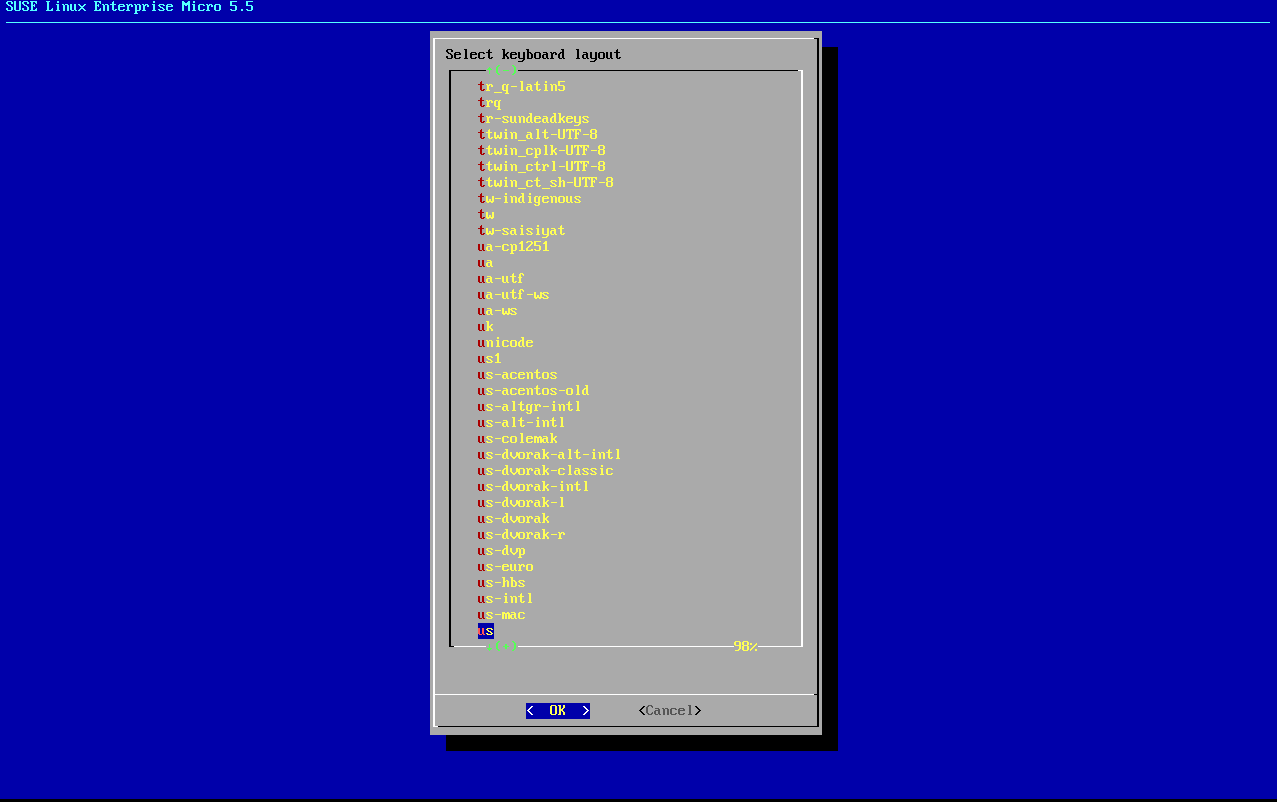
Select keyboard layout.
-
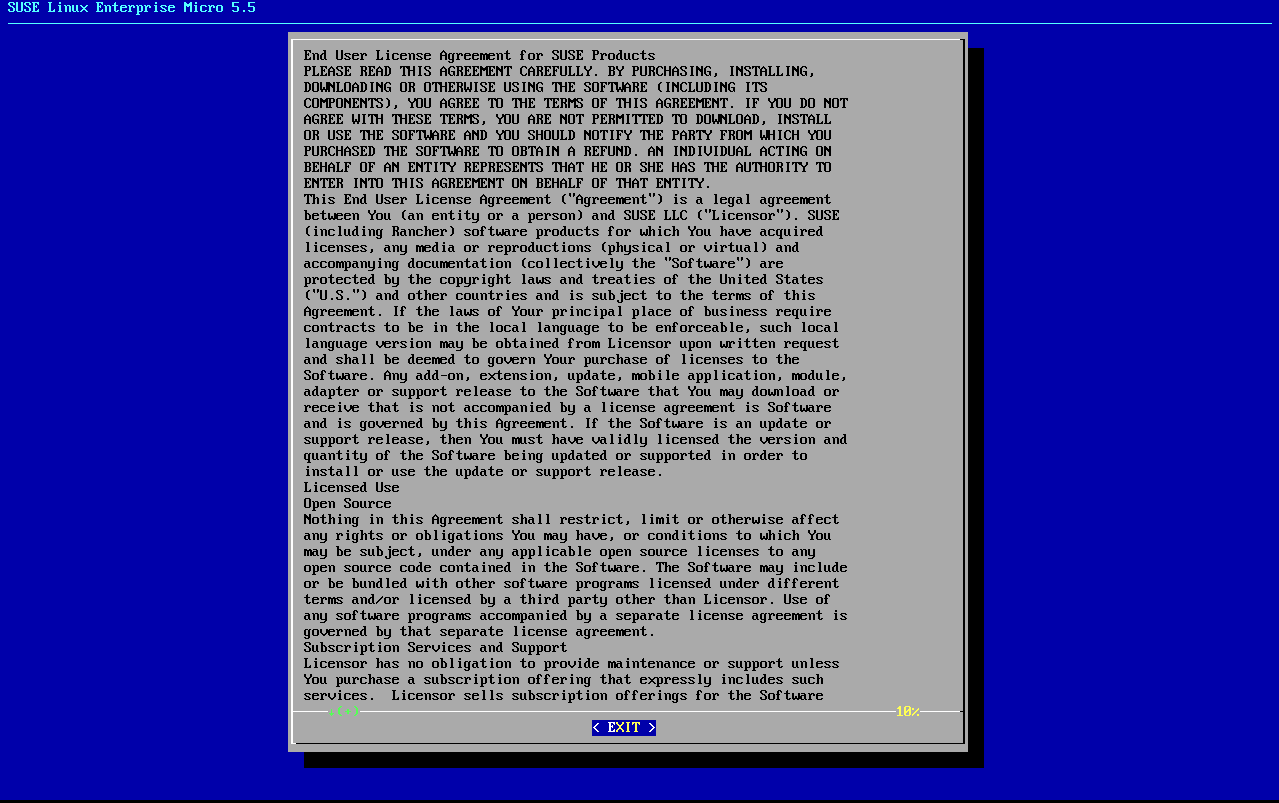
Accept the license agreement.
-
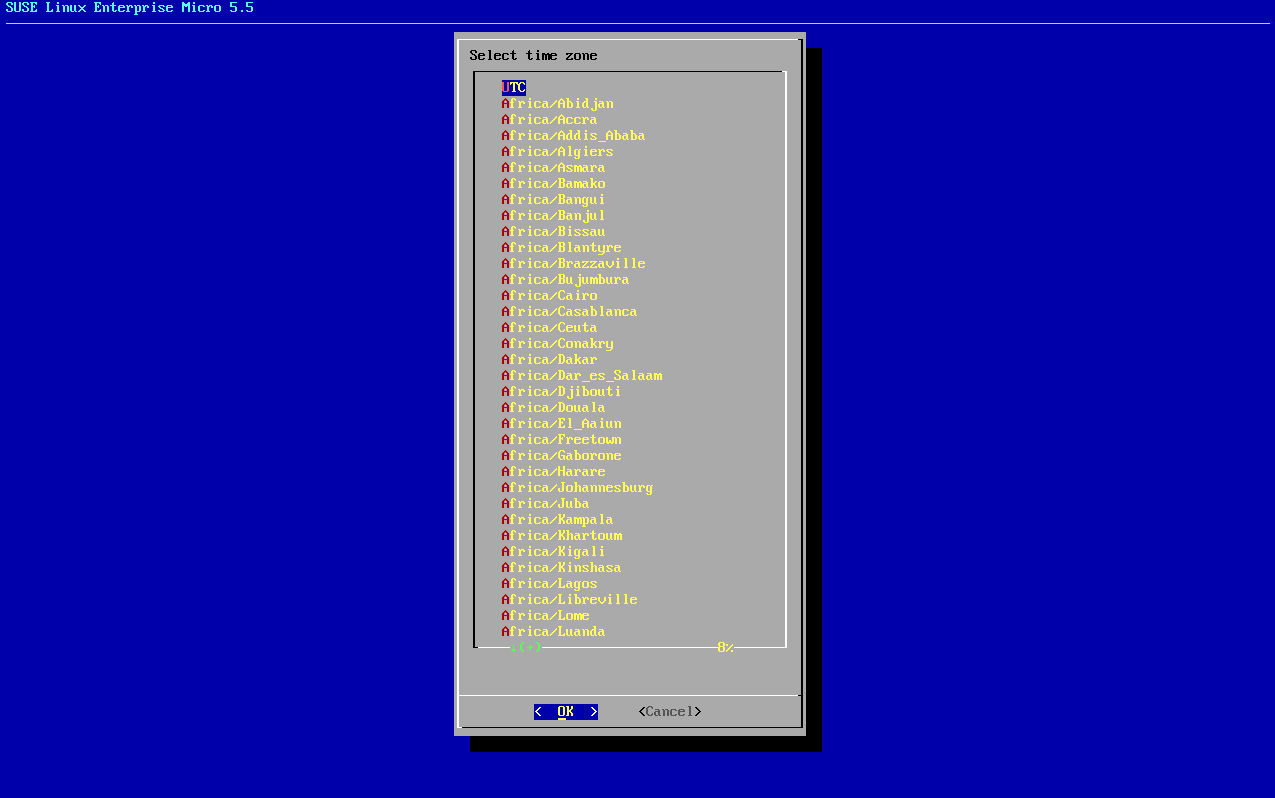
Select your time zone.
-
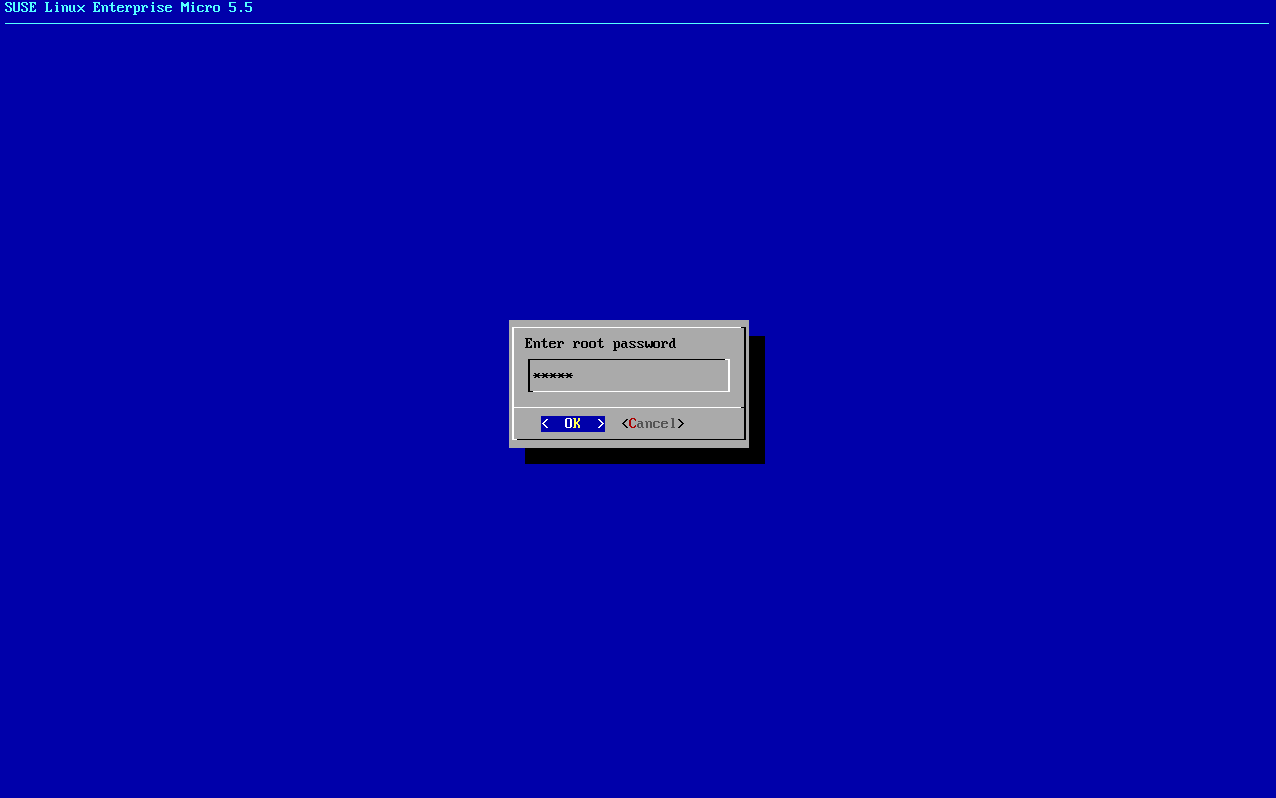
Enter a password for root.
-
When installation completes log in as root.
-
Proceed to the next section.
4. Register SL Micro and Uyuni 2024.12 Server
|
The SL Micro 5.5 entitlement is included within the Uyuni entitlement, so it does not require a separate registration code. |
-
Boot the virtual machine.
-
Log in as
root. -
Register SL Micro with SCC.
transactional-update register -r <REGCODE> -e <your_email>
-
Reboot.
-
Register Uyuni 2024.12 with SUSE Customer Center.
transactional-update register -p SUSE-Manager-Server/5.0/x86_64 -r <REGCODE>
-
Reboot.
-
Update the system:
transactional-update
-
If updates were applied reboot.
-
This step is optional. However, if custom persistent storage is required for your infrastructure, use the
mgr-storage-servertool.-
For more information, see
mgr-storage-server --help. This tool simplifies creating the container storage and database volumes. -
Use the command in the following manner:
mgr-storage-server <storage-disk-device> [<database-disk-device>]
For example:
mgr-storage-server /dev/nvme1n1 /dev/nvme2n1
This command will move the persistent storage volumes at
/var/lib/containers/storage/volumesto specified storage devices.For more information, see
-
-
Run the following command to deploy Uyuni:
mgradm install podman <FQDN>